24
Step 24
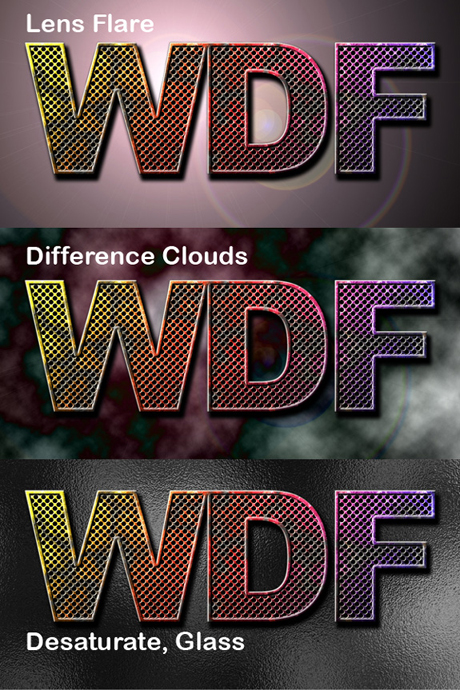
Now create a new layer above the “Background” layer and name it “Texture” and fill it with black. Go to Filter > Render > Lens Flare. Set the Brightness at 160% and set the Lens Type to 50-300 mm zoom. Then go to Filter > Render > Difference Clouds. Go to Image > Adjustments > Desaturate. Apply a Glass filter by going to Filter > Distort > Glass and use these settings: Distortion set to 20, Smoothness set to 2, and Scaling set at 100%. Finally, apply a Gradient Overlay Style to this layer and use these settings: Blend mode of Multiply and Opacity set at 70%.
You can get different variations of this effect by changing the gradient or color of the “Color” layer and changing the Texture of the Pattern Overlay Layer Style of the “Text” layer.